The Joy of Homemade Ice Cream
Picture this: it’s a blazing summer afternoon, and all you can think about is a scoop (or three) of smooth, creamy ice cream. But instead of running to the store or waiting in line at that trendy parlor downtown, imagine pulling out a container of decadent, homemade ice cream from your own freezer. The best part? You didn’t even need an ice cream maker to make it happen.
Making ice cream at home is easier than you think. With a few basic tools, a handful of ingredients, and just a bit of patience, you can whip up your own batch of no-churn ice cream from scratch. Whether you’re craving classic vanilla, indulgent chocolate, or something adventurous, this guide has you covered.
What You’ll Learn:
- The ingredients that make ice cream so irresistibly creamy
- A simple no-churn recipe that anyone can master
- Flavor variations and mix-in ideas to suit your cravings
- Tips for troubleshooting and storing your homemade delight
Understanding the Basics of Ice Cream
What Makes Ice Cream, Ice Cream?
To truly master homemade ice cream, you’ll want to understand the role of its core ingredients:
- Cream and Milk: Provide fat and dairy solids for a smooth, creamy texture.
- Sugar: Sweetens the mixture and lowers the freezing point, keeping it soft.
- Egg Yolks (optional): Add richness and act as a natural emulsifier for a more luxurious texture.
- Flavorings: Natural extracts, fruit purees, and cocoa powder bring your ice cream to life.
When these elements are combined just right, the result is a frozen treat with a dreamy balance of creaminess, sweetness, and flavor.
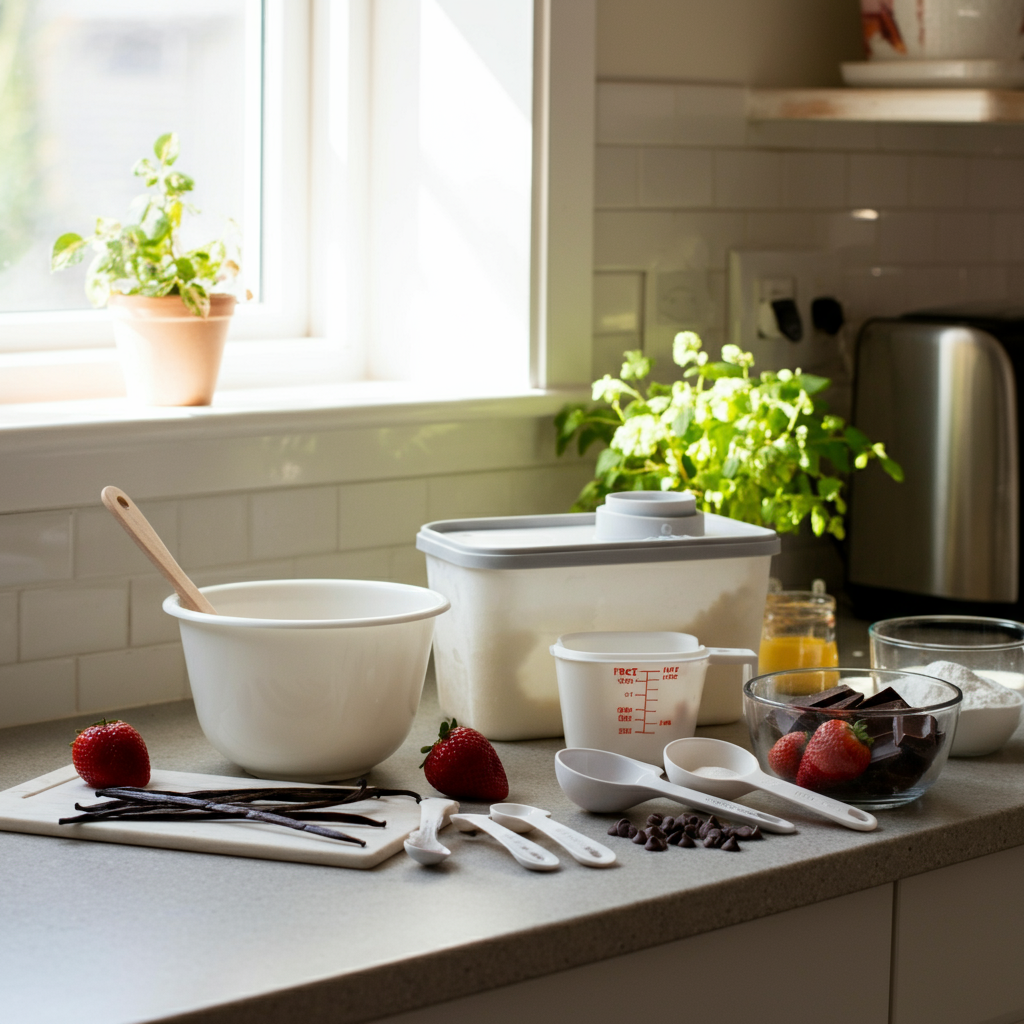
Essential Equipment You Already Have
The beauty of no-churn ice cream is that it doesn’t require fancy gadgets. Here’s all you need:
- Mixing Bowls: For combining your ingredients.
- Spatulas or Whisks: To ensure everything is blended smoothly.
- Measuring Cups and Spoons: Precision matters for the perfect texture and taste.
- Freezer-Safe Containers: To store your ice cream. Think glass containers with lids or any sturdy, airtight container designed for freezing.
Pro Tip: Chill your mixing bowl and spatula in the freezer for 10–15 minutes before starting to help the mixture stay cold.
The Easiest No-Churn Ice Cream Recipe
Ingredients:
- 2 cups of heavy cream
- 1 can (14 oz) sweetened condensed milk
- 1 tsp vanilla extract
- A pinch of salt
Step-by-Step Instructions:
- Whip the Cream
Using a hand mixer or whisk, whip the heavy cream in a chilled bowl until stiff peaks form.
- Combine with Condensed Milk
Gently fold the sweetened condensed milk, vanilla extract, and salt into the whipped cream. Be careful not to deflate the mixture.
- Pour and Freeze
Transfer the mixture to a freezer-safe container, smooth out the top, and cover tightly. Freeze for at least 4–6 hours, or until firm.
Tips for Success:
- Don’t rush the whipping process; well-whipped cream is key to a creamy texture.
- For the best results, keep all your ingredients and tools as cold as possible before starting.
Flavor Variations to Try
Chocolate Lover’s Dream
- Add 1/3 cup unsweetened cocoa powder while folding in the condensed milk.
- Swirl in chocolate fudge or sprinkle with chocolate chips for extra decadence.
Vanilla Bean Bliss
- Swap vanilla extract with the seeds of one vanilla bean for a richer, more aromatic flavor.
Strawberry Sensation
- Puree 1 cup of fresh strawberries and fold it into the base. Add extra pieces of diced strawberries for a burst of texture.
Looking to experiment? The possibilities are endless. Think matcha, cookies and cream, peanut butter swirl, or mango passion fruit.
Elevating Your Ice Cream Game
Make your ice cream uniquely yours by adding some creative mix-ins and layers:
- Mix-Ins: Crushed cookies, chopped nuts, caramel chunks, or even mini marshmallows.
- Flavor Swirls: Add ripples of jam, caramel, or chocolate sauce between layers as you transfer the mixture into your container.
- Adult Options: A splash of rum, whiskey, or Kahlúa can add an extra layer of sophistication (and a softer texture).
Pro Tip: Fold your mix-ins and swirls in gently to maintain the creamy consistency.
Troubleshooting Common Issues
Ice Crystals
Cause: Overmixing or improper freezing.
Fix: Ensure your whipped cream is properly whipped, and use airtight containers to prevent freezer burn.
Too Soft or Too Hard
Fix: If your ice cream is too soft, freeze it longer. If it’s too hard, leave it at room temperature for 5–10 minutes before scooping.
Lack of Flavor
Fix: Add a touch more vanilla extract or salt to enhance the overall taste.
Storing Your Homemade Ice Cream
Best Practices:
- Use airtight, freezer-safe containers to maintain freshness.
- Lay plastic wrap or parchment paper on the surface of the ice cream before sealing to prevent ice crystals.
Shelf Life:
Homemade ice cream is best enjoyed within 1–2 weeks for peak flavor and texture.
Advanced Techniques Without a Machine
Liquid Nitrogen Experiment
For an instant freeze and super smooth texture, consider using liquid nitrogen (with caution and proper safety gear).
Understanding the Science of Freezing
Read more about how sugar and fat levels interact with freezing temperatures to create that creamy consistency.
Your Questions Answered
Can I use frozen fruit in homemade ice cream?
Yes! Simply thaw and puree the fruit before incorporating it to achieve a smooth texture.
How long does it take to freeze no-churn ice cream?
Typically, 4–6 hours. However, for best results, plan for a full 8-hour freeze overnight.
Can I make dairy-free no-churn ice cream?
Absolutely. Use coconut cream as a substitute for heavy cream and sweetened condensed coconut milk for a dairy-free base.
Why is my homemade ice cream too icy?
This could be due to a lack of fat or sugar in the recipe. Stick closely to the ratios provided above for the creamiest result.
What’s the secret to extra creamy ice cream?
Well-whipped cream and a slower freezing process lead to the smoothest texture.
Create Your Own Frozen Masterpiece
No ice cream maker? No problem! With these tips and recipes, you’re fully equipped to make your own no-churn ice cream at home. It’s not just a fun activity; it’s a way to explore new flavors, indulge your creativity, and savor the results of your effort.
Gather your ingredients today and start experimenting with flavors. Share your creations with friends, family, or just keep it all to yourself (we won’t judge). The ice cream of your dreams is just a whisk away.
Happy scooping!