There’s something magical about homemade ice cream. The creamy texture, the customizable flavors, and the joy of knowing you created something delicious from scratch. Whether you’re revisiting childhood memories of ice cream churning in the backyard or looking for a creative culinary adventure, making ice cream at home is a simple yet deeply rewarding experience.
This ultimate guide will walk you through the process, equipment, and pro tips needed to craft your very own ice cream, whether you have an ice cream maker or not. Plus, we’ll explore unique flavor variations and tackle common issues to ensure your homemade creation is a sweet success.
Essential Equipment
Ice Cream Maker vs. No-Churn Methods
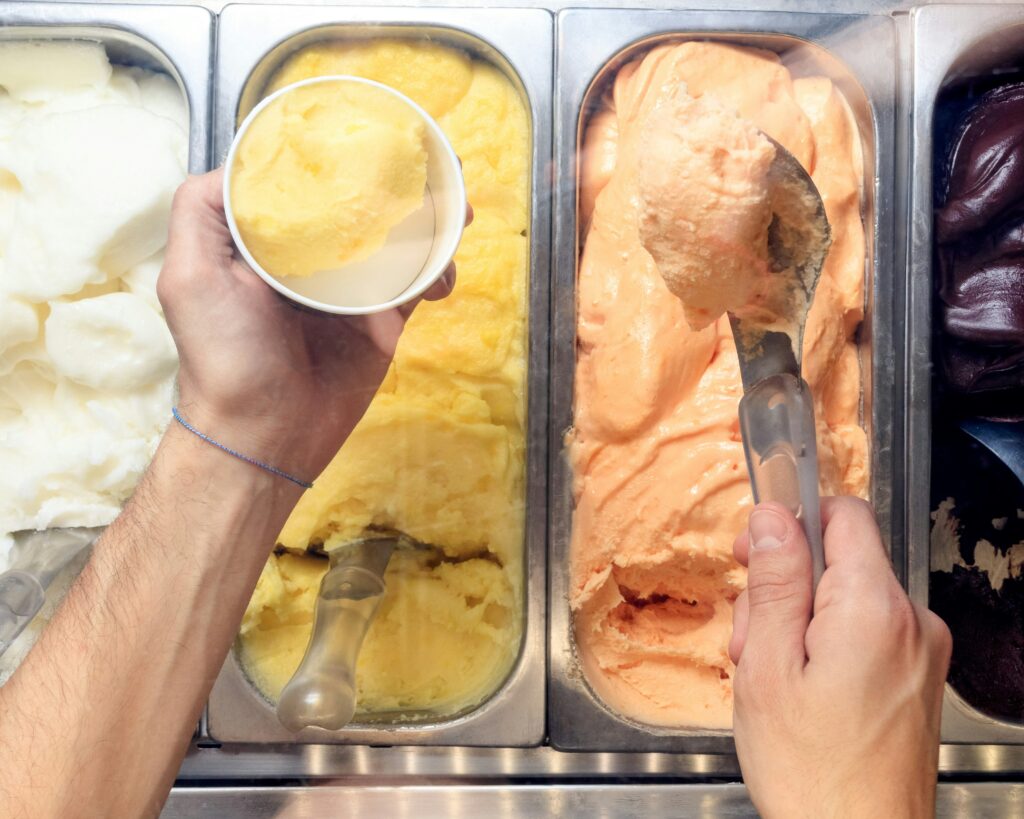
For churned ice cream, an ice cream maker is the ideal choice. It provides that creamy, airy texture by churning the mixture as it cools. Some popular options include compressor ice cream makers for convenience or manual ones for a touch of nostalgia.
Don’t have one? No problem! No-churn methods combine whipped cream and condensed milk to achieve a similar outcome with just a whisk and freezer.
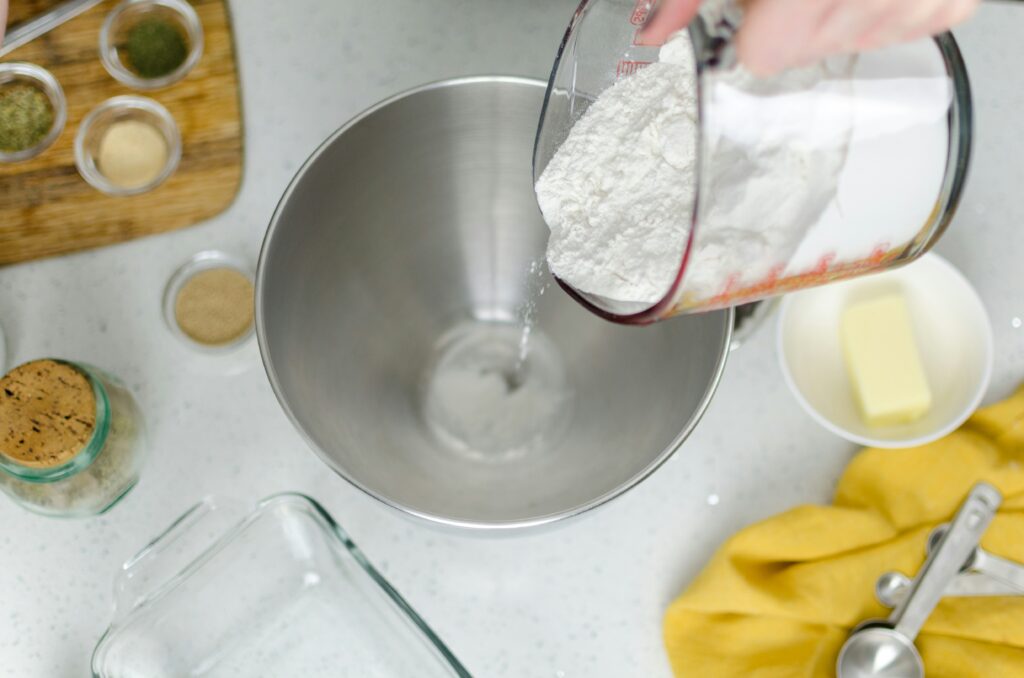
Basic Tools
Essential items for either method include:
- Mixing bowls for combining ingredients.
- Whisks or electric mixers for smooth blending.
- Measuring cups for precision.
- Rubber spatula for scraping every last drop!
Ingredients
Base Ingredients
At its core, ice cream is quite simple. Here’s what you’ll need for most recipes:
- Heavy Cream (for richness).
- Whole Milk (for balance).
- Sugar (for sweetness).
Flavorings
What’s an ice cream recipe without the fun? Add personality to your creations with:
- Vanilla Extract for classic vanilla ice cream.
- Fresh Fruits like strawberries, mango, or bananas.
- Chocolate (chips, melted, or cocoa powder).
How to Make Ice Cream (Churn Method)
Step 1: Preparing the Base
- Heat your milk, heavy cream, and sugar over medium heat until the sugar dissolves.
- If making a custard base, whisk egg yolks in a separate bowl. Slowly temper the hot mixture into the yolks to avoid scrambling them. Return to the heat and cook until thickened.
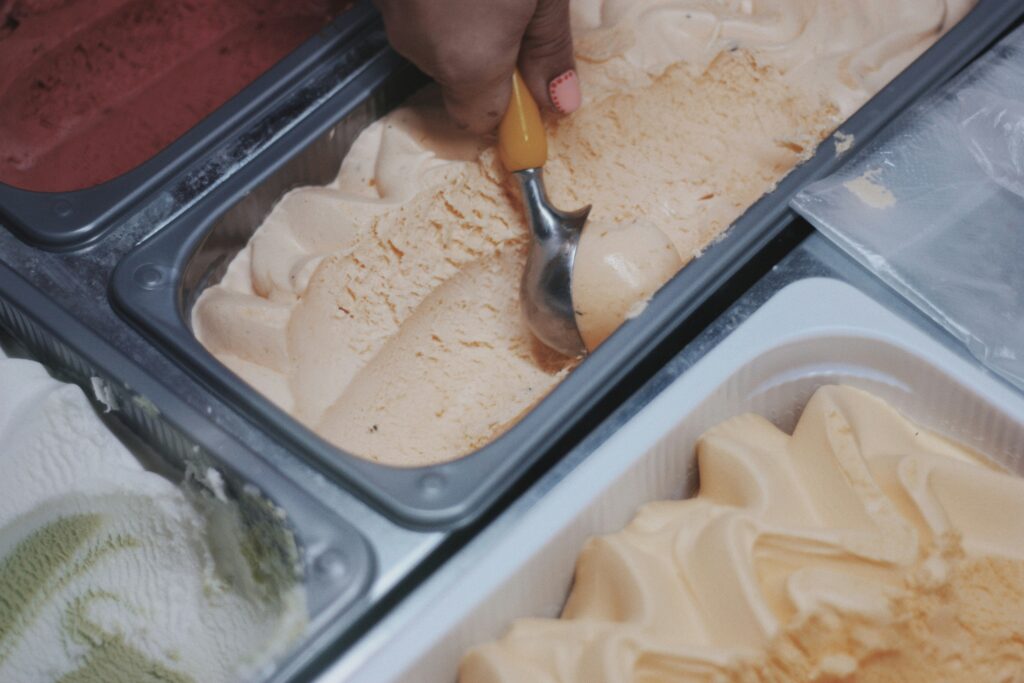
Step 2: Churning Instructions
- Allow the base to cool completely. Chill it in the refrigerator for a few hours or overnight.
- Pour the mixture into your ice cream maker and churn according to the manufacturer’s instructions (usually 20-30 minutes).
Step 3: Hardening the Ice Cream
- Transfer the churned ice cream into an airtight container to set in the freezer for 2-4 hours before serving.
How to Make Ice Cream (No-Churn Method)
Step 1: Whipping Cream and Sweetened Condensed Milk
- Whip heavy cream until stiff peaks form.
- Gently fold in sweetened condensed milk. This mixture serves as your creamy base.
Step 2: Adding Flavorings and Freezing
- Mix in your desired flavorings (vanilla, fruit puree, chocolate chips).
- Pour into a freezer-safe container, cover, and freeze for 4-6 hours.
Flavor Variations

Classic Vanilla
Use high-quality vanilla extract or scrape fresh vanilla beans for intense flavor.
Rich Chocolate
Stir in melted dark chocolate or cocoa powder for decadent chocolate ice cream.
Fruity Strawberry
Blend fresh strawberries into a puree and mix into your base.
Coffee Ice Cream
Combine cold brew concentrate or instant espresso into the base for a bold flavor.
Troubleshooting Common Issues

Grainy Texture
This typically happens when sugar isn’t properly dissolved. Always gently heat the mixture to ensure it’s smooth.
Ice Crystals
To avoid ice crystals, ensure your base is chilled before churning and store the finished product in an airtight container.
Soft Ice Cream
Not freezing your ice cream base or churned ice cream long enough can lead to a soft texture. Time and temperature are key!
Storage Tips
- Best Containers: Use airtight, freezer-safe containers to prevent absorption of moisture or odors.
- Prevent Freezer Burn: Cover the ice cream tightly with plastic wrap or wax paper before sealing the lid.
- Shelf Life: Consume within 2 weeks for optimal flavor and texture.
Health Benefits and Nutritional Information

While homemade ice cream isn’t exactly health food, it eliminates preservatives and artificial additives often found in store-bought options. Additionally, you control the ingredients, making it possible to reduce sugar or use plant-based cream alternatives for dietary needs.
FAQ Section
How Long Does it Take to Make Ice Cream at Home?
The overall process can take 4-6 hours, with most of that time spent chilling or freezing the base.
Can I Make Vegan Ice Cream?
Yes! Swap dairy milk for coconut milk or almond milk. Use plant-based sweetened condensed milk for no-churn options.
What’s the Best Ice Cream Maker for Beginners?
Look for automatic, compressor-style machines for ease, like the Cuisinart ICE-100 or similar.
People Also Ask (PAA) Section
What is the secret to creamy homemade ice cream?
The secret lies in a base with the right balance of fat (from cream) and sugar. Proper churning and avoiding over-freezing are also key.
How do I stop ice cream from going icy?
Ensure your mixture is thoroughly chilled before churning, and store the finished product in airtight containers.
What are the healthiest ice cream recipes?
Healthier options include reducing sugar, using yogurt instead of cream, or experimenting with fruit-sweetened recipes.
How to Get Started on Homemade Ice Cream Today
Homemade ice cream is more than just a treat; it’s an experience of creativity, customization, and pure joy. From classic vanilla to unique coffee creations, the possibilities are endless. Armed with this guide, you’re ready to whisk, churn, and whip your way to some of the best ice cream you’ve ever tasted.
Don’t wait for the perfect moment. Grab your ingredients, experiment with flavors, and share your creations with friends and family. Who knows? This weekend’s experiment might just become your signature dessert!